How to Setup a PXE Server on Rocky Linux 9.x
Introduction
Using PXE to bootstrap nodes with an image is commonplace in many business environments and has made both deploying and managing an image across a fleet of nodes at scale trivial.
This article will go through the setup process of deploying a PXE server on Rocky Linux 9.5 and then bootstrap a fresh node with a Rocky Linux 9.5 image. The article will focus on a UEFI boot use case, as opposed to a legacy BIOS boot.
Prerequisites
-
A node with Rocky Linux 9.5 installed on it. This will be the PXE server.
-
A node that has PXE support available. This will be the PXE client.
-
A Rocky Linux 9.5 DVD ISO.
Instructions
PXE Server Setup
To set up the PXE Server please follow the steps below:
- Update all packages:
sudo dnf update -y
- Install
dnsmasqto provide a DNS and DHCP server support:
sudo dnf install -y dnsmasq
- Set up your
dnsmasq.confconfiguration with the appropriate subnet, netmask, broadcast-address, and more:
cat << "EOF" | sudo tee /etc/dnsmasq.conf
interface=<your_ethernet_interface>,lo
#bind-interfaces
domain=<name_here-anything_is_okay>
# DHCP range-leases
dhcp-range=<your_ethernet_interface>,<start_of_dhcp_range>,<end_of_dhcp_range>,255.255.240.0,1h
# PXE
dhcp-boot=pxelinux.0,PXEserver,<your_rocky_linux_node_address>
# Gateway
dhcp-option=3,<your_gateway_address>
# DNS
dhcp-option=6,<your_dns_server_address>
server=<your_rocky_linux_node_address>
# Broadcast Address
dhcp-option=28,<your_broadcast_address>
# NTP Server
dhcp-option=42,0.0.0.0

PXE-prompt="Press F8 for menu.", 60
PXE-service=x86PC, "Install Rocky Linux 9.5 from your PXE server <your_rocky_linux_node_address>", pxelinux
enable-tftp
tftp-root=/var/lib/tftpboot
EOF
Example: Please supplement the addresses with those from your own environment
cat << "EOF" | sudo tee /etc/dnsmasq.conf
interface=enp8s0,lo
#bind-interfaces
domain=test
# DHCP range-leases
dhcp-range=enp8s0,10.25.96.4,10.25.96.5,255.255.240.0,1h
# PXE
dhcp-boot=pxelinux.0,pxeserver,10.25.96.3
# Gateway
dhcp-option=3,10.25.96.1
# DNS
dhcp-option=6,10.25.96.1
server=10.25.96.3
# Broadcast Address
dhcp-option=28,10.25.96.255
# NTP Server
dhcp-option=42,0.0.0.0

pxe-prompt="Press F8 for menu.", 60
pxe-service=x86PC, "Install Rocky 9.5 from network server 10.25.96.3", pxelinux
enable-tftp
tftp-root=/var/lib/tftpboot
EOF
The PXE server has been assigned the address of 10.25.96.3 in the above configuration.
- Install the
syslinuxpackage:
sudo dnf install -y syslinux
- Install the
tftp-serverpackage:
sudo dnf install -y tftp-server
- Copy the contents of the
syslinuxdirectory to/var/lib/tftpboot:
sudo cp -r /usr/share/syslinux/* /var/lib/tftpboot
- Create a directory called
pxelinux.cfg:
sudo mkdir /var/lib/tftpboot/pxelinux.cfg
- Generate the PXE BOOT menu:
cat << "EOF" | sudo tee /var/lib/tftpboot/pxelinux.cfg/default
default menu.c32
prompt 0
timeout 300
ONTIMEOUT local

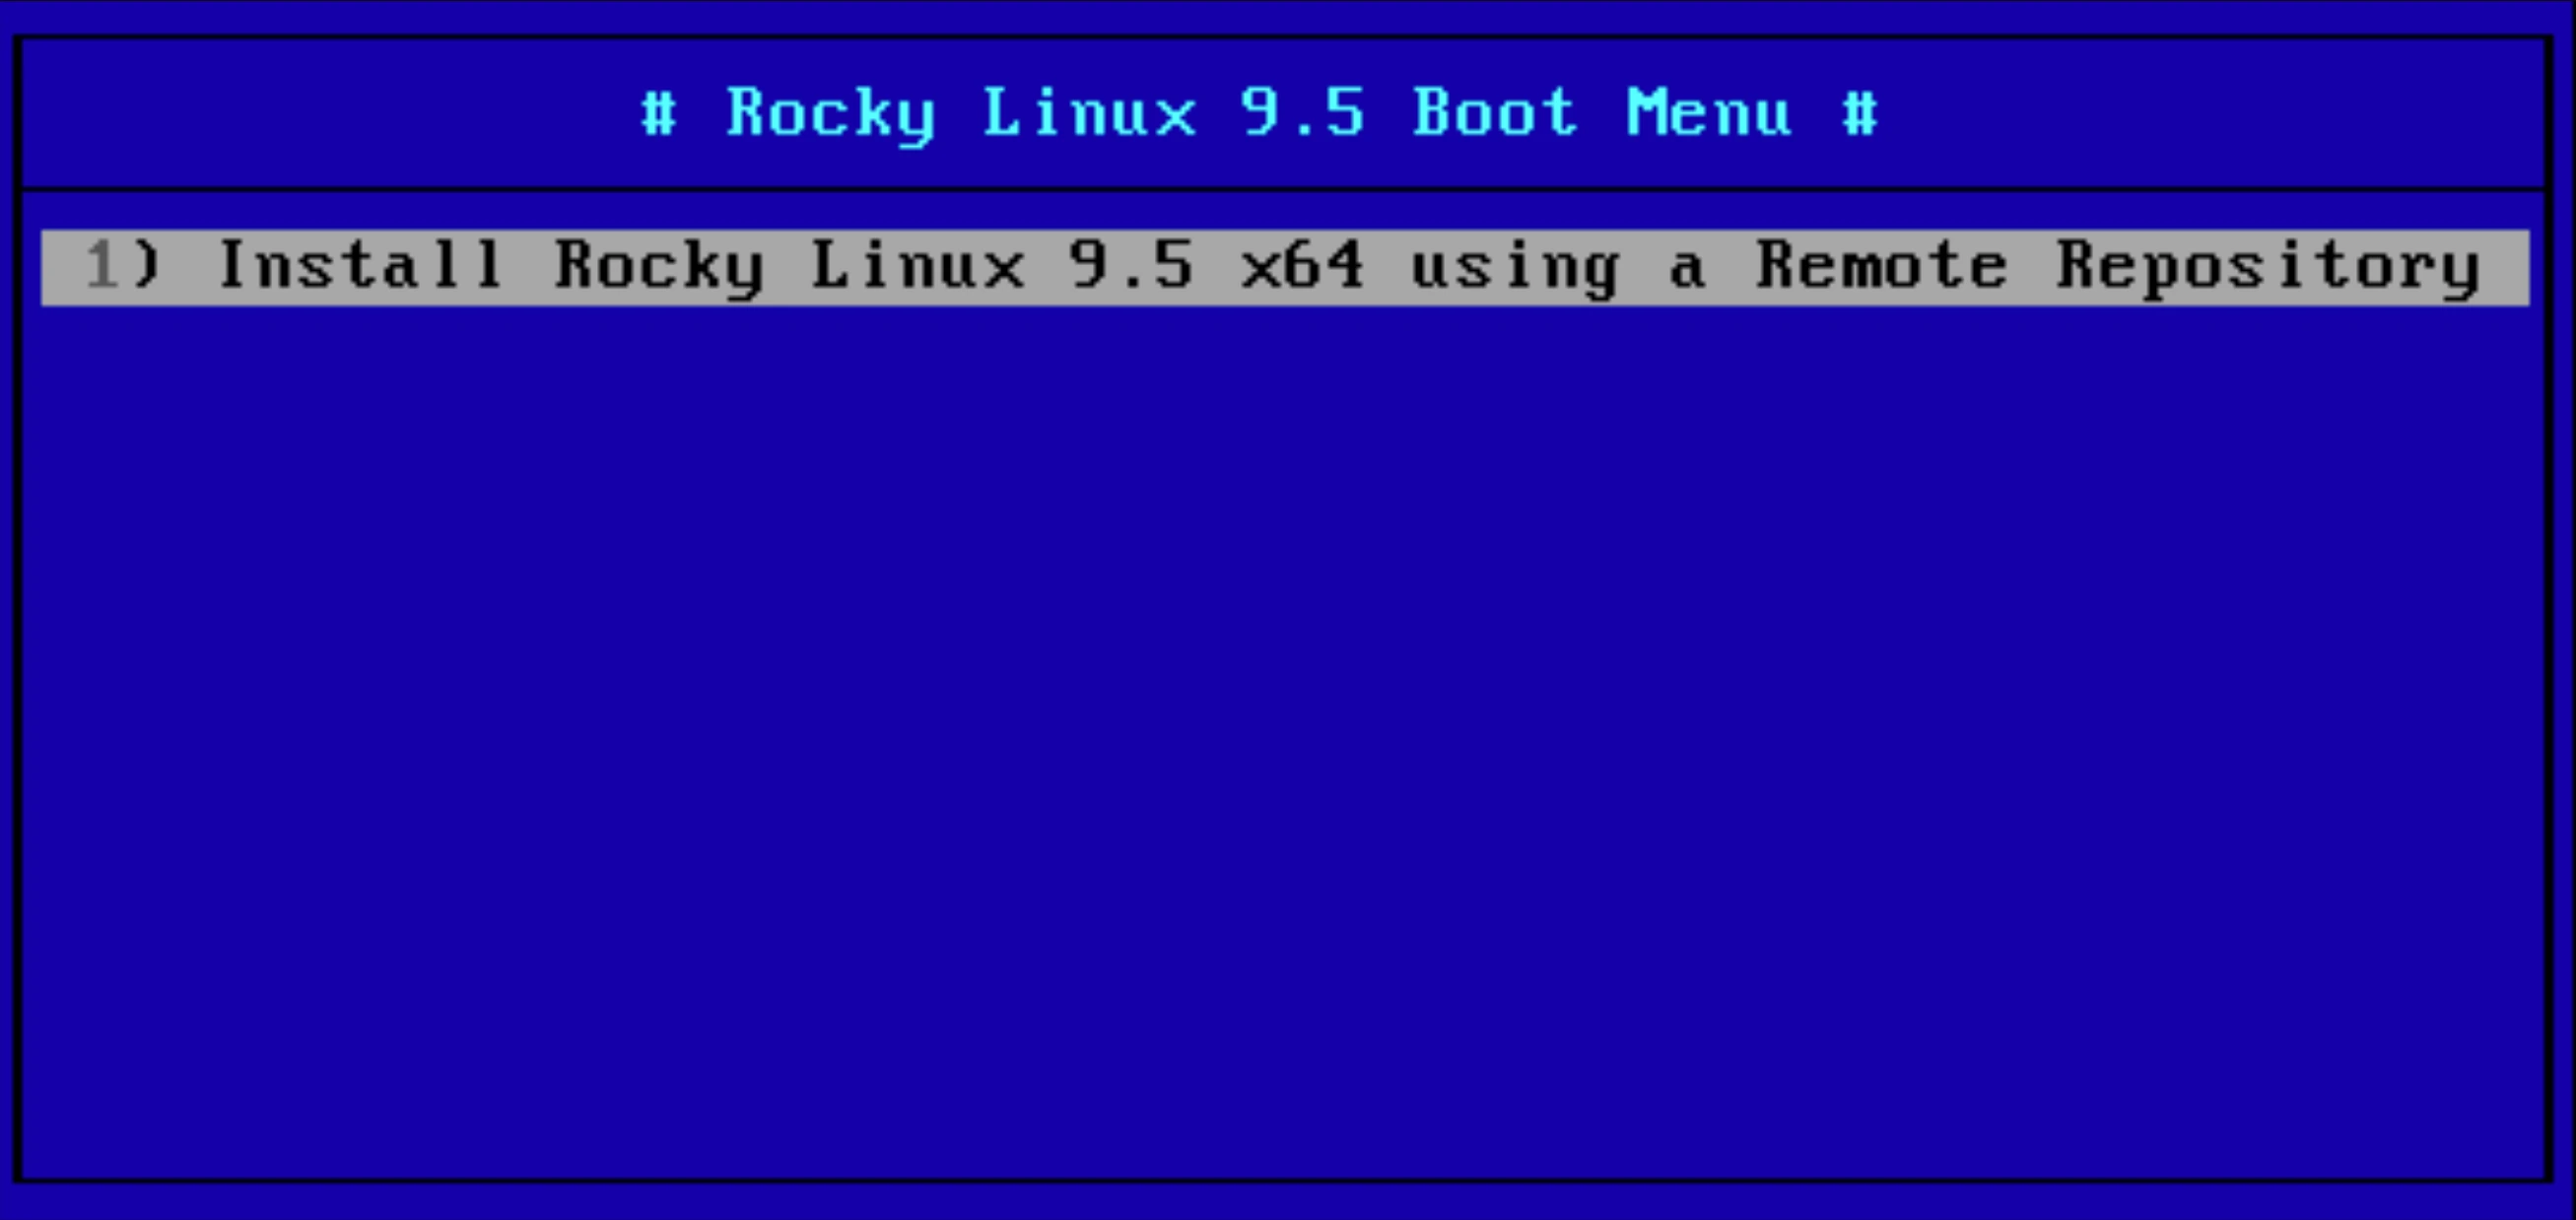
menu title # Rocky Linux 9.5 Boot Menu #

label 1
menu label ^1) Install Rocky Linux 9.5 x64 using a Remote Repository
  kernel rocky95/vmlinuz
  append initrd=rocky95/initrd.img inst.zram=1 inst.repo=https://dl.rockylinux.org/pub/rocky/9.5/BaseOS/x86_64/os/
EOF
NOTE
The PXE BOOT menu can be further expanded to include kickstart file configurations and other customizations. An example entry using a kickstart file is below:
label 2
menu label ^2) Install Rocky Linux 9.5 x64 using a Remote Repository
  kernel rocky95/vmlinuz
  append initrd=rocky95/initrd.img inst.debug ip=dhcp inst.ks=nfs:<your_rocky_linux_node_ip>:</path/to/your/kickstarter_cfg_file> inst.repo=nfs:<your_rocky_linux_node_ip>:</path/to/your/iso> inst.zram=1
- Create a directory called
rocky95:
sudo mkdir /var/lib/tftpboot/rocky95
- Mount the Rocky Linux 9.5 DVD ISO image:
sudo mount -o loop </path/to/iso> </iso/mount_point>
- For this example we mounted the Rocky Linux 9.5 ISO at
/mnt:
sudo mount -o loop ~/isos/Rocky-9.5-x86_64-dvd.iso /mnt
- Copy the required
initrd.imgandvmlinuzfiles to/var/lib/tftpboot/rocky95:
sudo cp /mnt/images/pxeboot/vmlinuz /var/lib/tftpboot/rocky95
sudo cp /mnt/images/pxeboot/initrd.img /var/lib/tftpboot/rocky95
- Start and enable the
dnsmasqandtftpservices at boot:
sudo systemctl enable --now dnsmasq
sudo systemctl enable --now tftp
- Allow
dhcp,dns,proxydhcpandtftptraffic through your firewall:
sudo firewall-cmd --add-service=dhcp --permanent
sudo firewall-cmd --add-service=dns --permanent
sudo firewall-cmd --add-port=69/udp --permanent
sudo firewall-cmd --add-port=4011/udp --permanent
sudo firewall-cmd --reload
PXE Client Setup
To set up the PXE Client please follow the steps below to enable the available PXE option from the client machine's BIOS settings. In this example, the following needed to be enabled:
-
Navigate to
Advanced-->Onboard Devices Configuration-->Realtek LAN Controllerand set this option toEnabled. -
Navigate to
Advanced-->Onboard Devices Configuration-->Realtek LAN Controller-->Realtek PXE Option ROMand configured this option asEnabled. -
Navigate to
Advanced-->Network Stack Configuration-->Network Stackand also set this option asEnabled. -
Finally went to
Advanced-->Network Stack Configuration-->Ipv4 PXE Supportand changed this toEnabled. -
Restart your PXE client machine and it should connect to your PXE server.
-
Press
F8at the prompt:

- Press the
Enterkey at the next screen and proceed to the Rocky Linux 9.5 Boot Menu. Selectoption 1:

Your PXE client will now boot up and download the initrd.img and vmlinuz files, as well as the files from the remote repository. The Anaconda installer will then appear and you can continue the installation as normal. Of course, if you submit a kickstart configuration file, the installation part of the process can be skipped.
Conclusion
This guide was built in the hope of helping bring up a simple PXE server. It touched on configurations for dnsmasq, tftp, setting up the PXE server boot menu, and more. PXE is an amazing technology and has truly revolutionized large scale deployments.